Elephant Coaster

Abbreviations:
sc: single crochet
ch: chain
st:
Stitch
inc : increase
dec: decrease (2sctog)
Sl st : slip
stitch
R: round/row
FLO: front loop only
BLO: back loop only
Materials:
5 ply milk cotton yarn in grey
3 mm crochet
hook
6 mm safety eyes
Polyester fiberfill
Tapestry needle

Note:
This pattern uses US terminology.
This amigurumi is worked in continuous
rounds. Mark the beginning of each round with a stitch marker. You can use
different color of yarn as an alternative of stitch marker for marking the
rounds. Just place it into the first stitch of every row/round as you go.
Gauge
is not important in this project.
Use MR (magic ring) as an alternative
of ch 2.
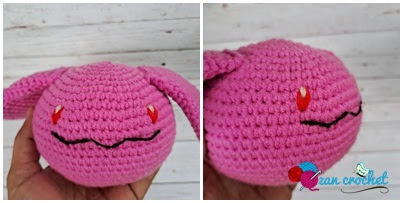
Head:
Use grey
R1: ch 2, starting from the second
chain from hook, 6 sc (6)
R2: inc, rep 6x (12)

R4: sc, inc, (2 sc, inc = rep 5x), sc (24)
R5: 3 sc, inc, rep 6x (30)
R6-10: sc around
Attach safety eyes between R6-7, give space 4 sts between them.
R11: 3 sc, dec, rep 6x (24)
R12: 2 sc, dec, rep 6x (18)
Stuff
R13: sc, dec, rep 6x (12)
R14: dec, rep 6x (6)
F/O
Body:
Use grey
R1: ch 2, starting from the second chain from hook, 6 sc
(6)
R2: inc, rep 6x (12)
R3: sc, inc, rep 6x (18)

R5: 3 sc, inc, rep 6x (30)
R6: 2 sc, inc, (4 sc, inc = rep 5x), 2 sc (36)
R7: 5 sc, inc, rep 6x (42)
R8: 3 sc, inc, (6 sc, inc = rep 5x), 3 sc (48)
R9: 7 sc, inc, rep 6x (54)
R10: 4 sc, inc, (8 sc, inc = rep 5x), 4 sc (60)
R11: sl st around (60)
F/O leaving a long tail for sewing

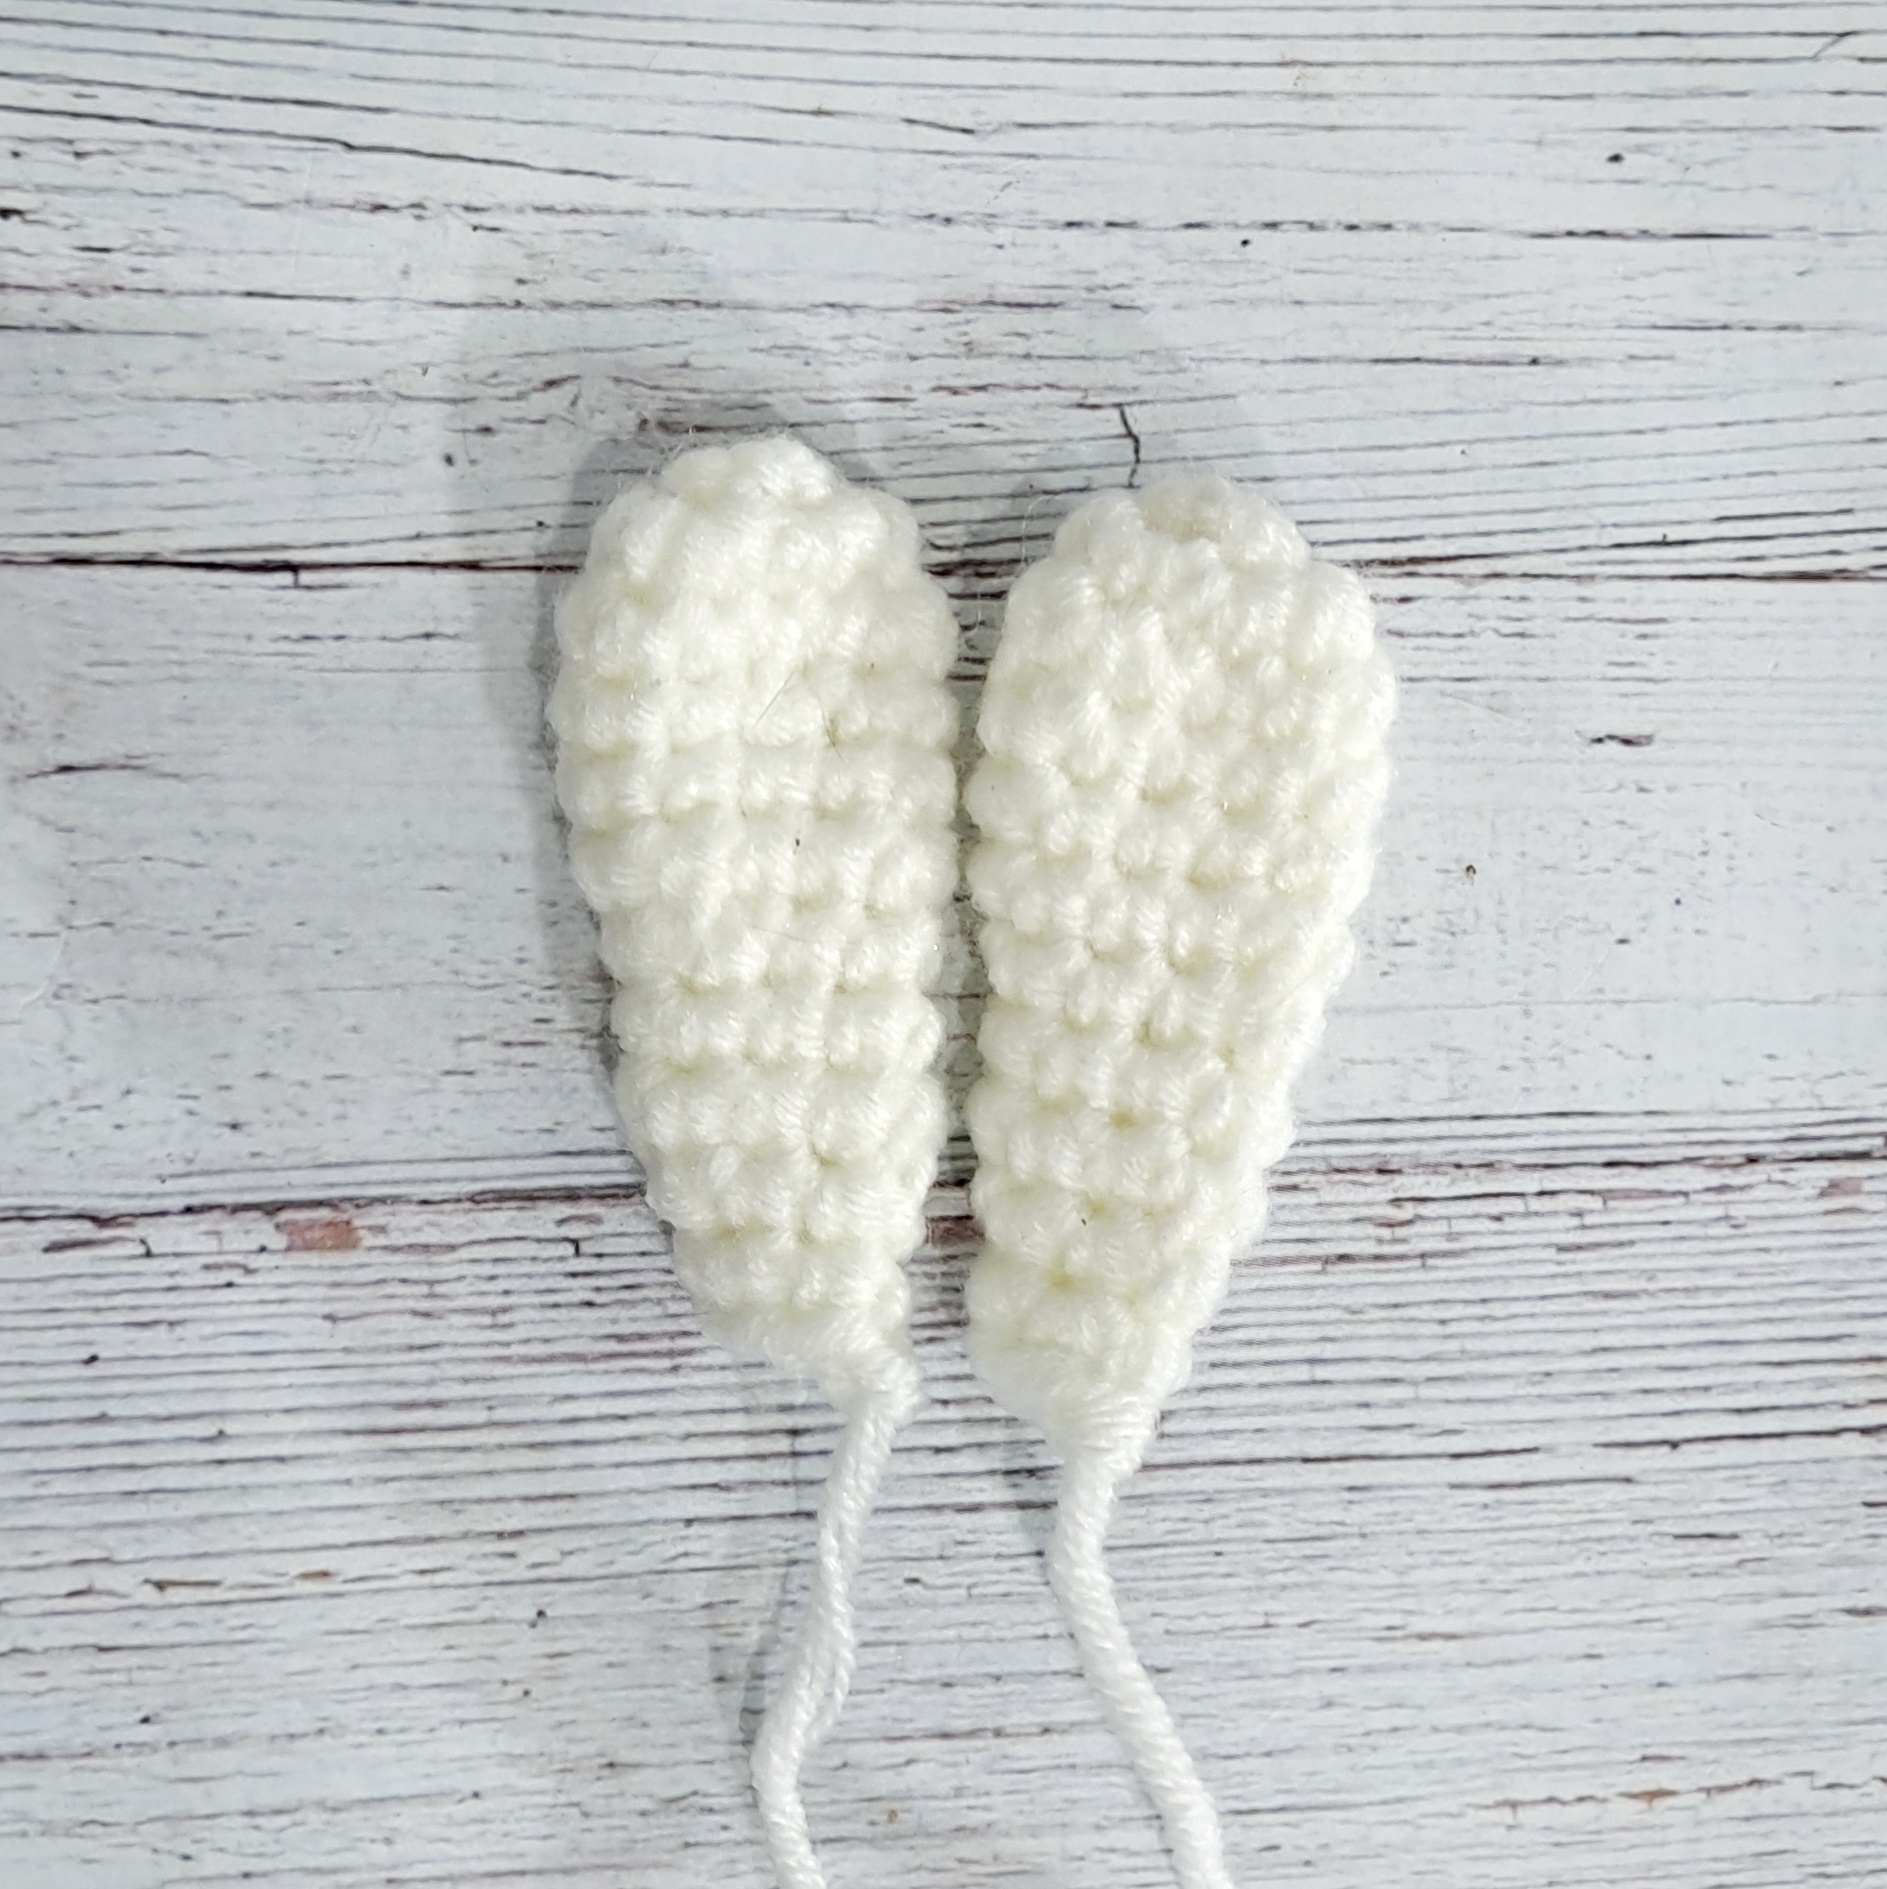
Use grey; leave a long tail for sewing before making a slip knot
R1: ch 6, starting from the second chain from hook, sc in each st (5)
R2: ch 1, turn, inc, 3 sc, inc (7)
R3: ch 1, turn, sc in each st (7)
R4: ch 1, turn, inc, 5 sc, inc (9)
R5: ch 1, turn, sc in each st (9)
R6: ch 1, sl st, rep 9x
F/O
Trunk:
Use grey
R1: ch 2, starting from the second chain from hook, 4 sc (4)
R2: BLO, inc, 3 sc (5)
R3: inc, 4 sc (6)
R4: inc, 5 sc (7)
R5: sc around
R6: sc, inc, 5 sc (8)
R7: sc around
R8: 2 sc, inc, 5 sc (9)
R9: 2 sc, (inc = 2x), 5 sc (11)
Stuff
F/O leaving a long tail for sewing
Legs (make 4):
Use grey
R1: ch 2, starting from the second chain from hook, 6 sc
(6)
R2: 2 sc, inc, rep 2x (8)
R3-5: sc around
Stuff
F/O
leaving a long tail for sewing
Tail:
Use grey
ch 11, starting from the second chain from hook, sl st in
each st (10)
F/O leaving a long tail for sewing
Finishing:
Sew the trunk on R6-10 of the head between the eyes.
Sew the Ears on R6-10 of the head.
Sew the body to the head.
Sew the legs on the body.
Sew the tail on the body.

You may keep a copy of this pattern for personal use but you may not sell the pattern. You can sell the items that you made from this pattern as you credit me as the designer.
Please leave comment if you have a question or find any mistake in my pattern. I will do the corrections as soon as possible. I will be happy to see your creation from this pattern so please share your handmade to my Facebook Page Zan Crochet or Instagram @zancrochet
Thanks...
.jpeg)